Getting started
Sign in
Section titled “Sign in”Head to my.orsane.app/signup to create an account, or my.orsane.app/login if you’ve been here before. We support both email / password as well as Google sign-in.
Set up your team
Section titled “Set up your team”Orsane is multi-tenant — every account is scoped to one or more teams. What you see right after signing in depends on whether anyone has invited you yet:
- You’re the first one in. You’ll be sent to Create a team, where you name your team and become its owner.
- You’ve been invited. You’ll see any pending invitations and can accept the one(s) you want to join.
- You belong to several teams. Switch between them from the team selector at the top of the sidebar.
If a teammate sends you an invite by email later on, the link in that email will drop you straight into the team once you’re signed in.
Find your way around
Section titled “Find your way around”The left sidebar is your home base. From the top down it surfaces four built-in views (the same set everyone in the team gets), then your lists, then your account and team controls.
Your default landing view at my.orsane.app/inbox. The Inbox collects everything that needs your attention — comment replies, tasks you created that have been completed, list invitations, and new assignments. See Notifications for the full list of triggers and how email fits in.
Assigned to me
Section titled “Assigned to me”Every open task across the team where you’re an assignee, in a single list. This is the view to keep open as your daily working list — anything that needs your hands on it shows up here, regardless of which list it’s filed under.
Created by me
Section titled “Created by me”Every task you’ve created, regardless of who’s working on it now. Useful for keeping an eye on work you’ve delegated, briefs you’ve raised, or tasks you initiated and want to track without being assignee.
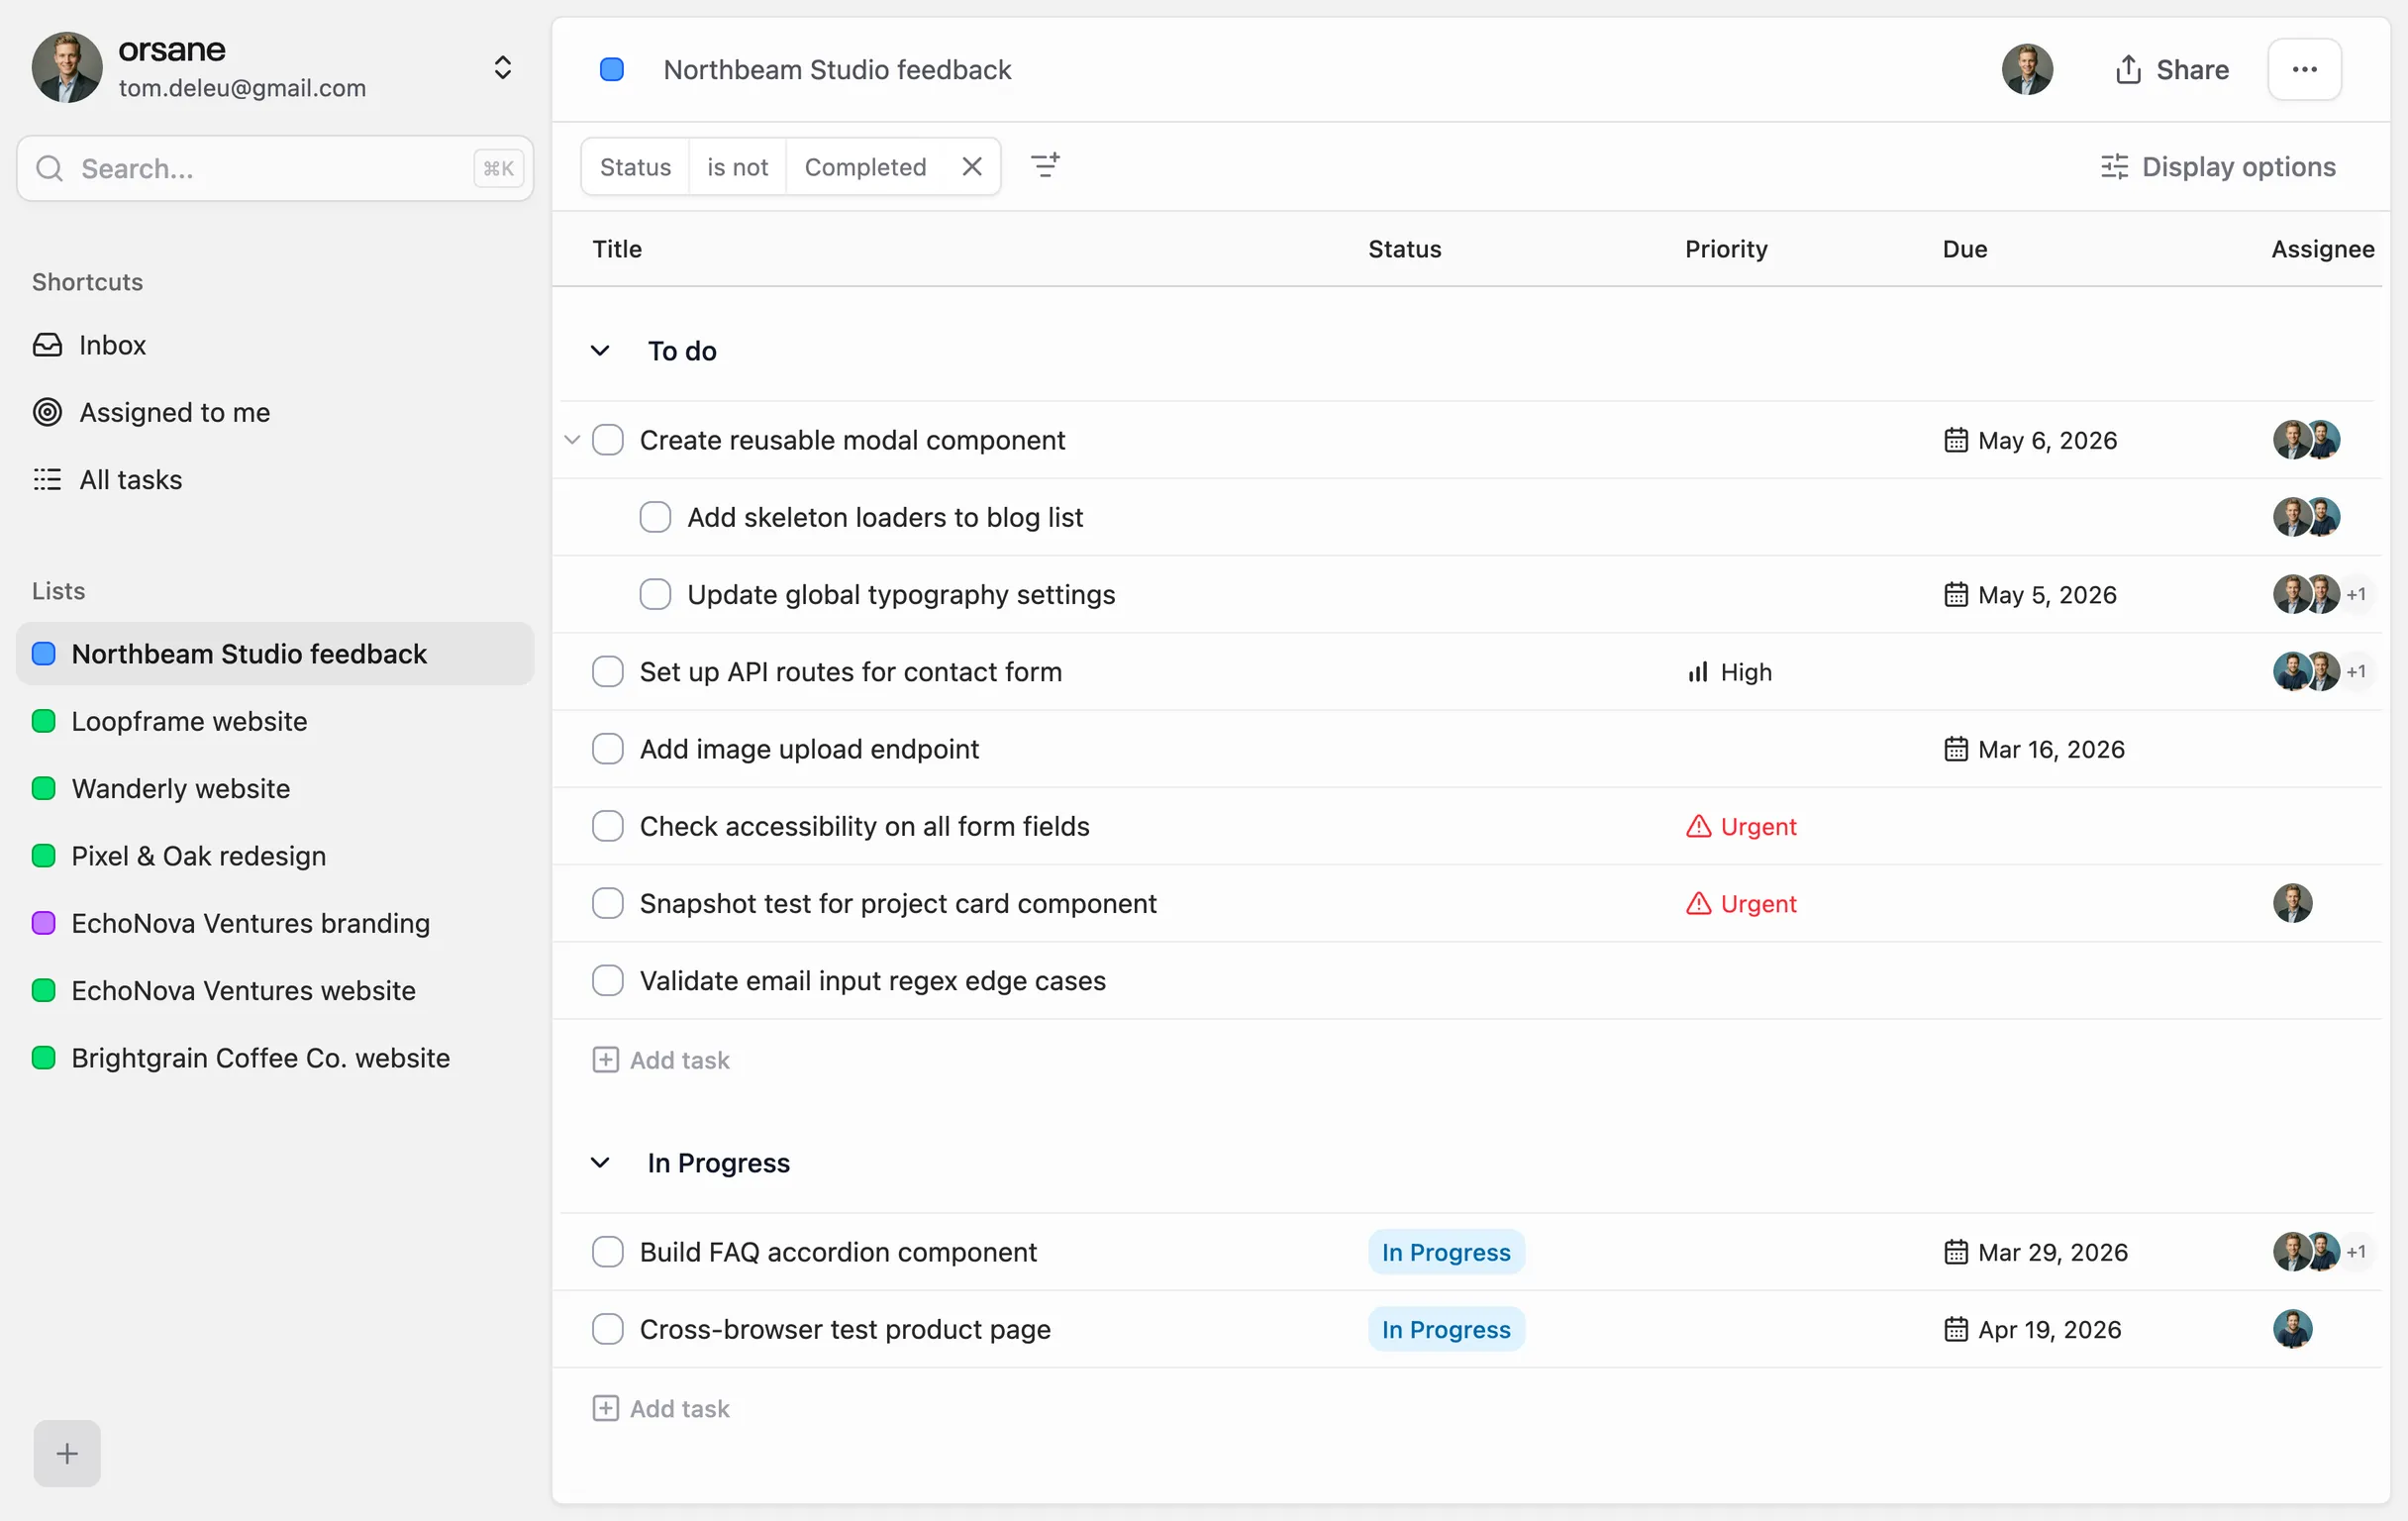
All tasks
Section titled “All tasks”The unfiltered team-wide list — every task in every list you have access to. On its own this view is firehose-y; combine it with the filter, sort, and group controls to slice it however you need.
Underneath the built-in views, the Lists section is where the lists you and your team have created live. A task can belong to multiple lists at once, so they can work as folders or as tags. See Lists for how to create, share, archive, and delete them.
Create your first task
Section titled “Create your first task”Open any list — or create one with the Create list action in the Lists section of the sidebar — and use the new-task row at the bottom of the table to add a task. Press Enter to save, then click the row to open the detail panel and fill in:
- Status, Priority, Assignee, Due date — built-in attributes available on every task.
- Custom attributes — team-specific fields you’ve defined yourself (see Attributes for the supported types and input rules).
- Description and comments — rich text for context and conversation.
- Subtasks — nested tasks under this one (see Subtasks).
Invite your team
Section titled “Invite your team”Once your team is in shape, bring people in from Settings → Team Users. Click Invite team user, enter an email and pick a role:
- Admin — can manage team settings, members, and billing.
- Member — can create and edit tasks, lists, and threads, but not team-level configuration.
Invitees get an email with an accept link. They can accept whether or not they already have an Orsane account — if they don’t, they’ll be prompted to sign up first.