
Lists
Lists are the main way you organise work in Orsane. Every list is a shared, team-wide collection of tasks — different groups, clients, or streams of work usually each get their own list.
A task can belong to multiple lists at once. That makes lists work both as folders (one list per project) and as tags (a single task can be in Client Acme and Q3 priorities simultaneously).
Creating a list
Section titled “Creating a list”Open the sidebar and click the + next to the Lists heading, or
press
- Name — between 2 and 100 characters.
- Colour — picked from a fixed palette. The colour shows up alongside the list name in the sidebar and on list-themed UI.
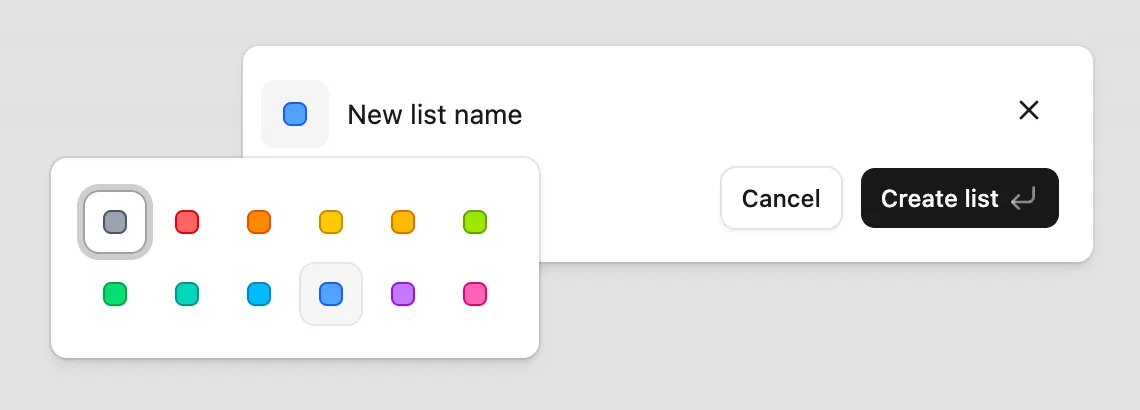
Hit Create and the list appears in your sidebar straight away.
Adding tasks to a list
Section titled “Adding tasks to a list”A task’s lists are managed from the Lists field in its detail panel — not from the list views themselves. Open any task, click the Lists field, and toggle list memberships in the popover. A task can be in any number of lists, including zero.
You can also create tasks directly inside a list view; the new task is automatically added to that list, and you can attach it to more lists afterwards.
Sharing a list
Section titled “Sharing a list”A list is only visible to people who have been added as members. When you create a list, you’re added automatically. To bring teammates in, open the list and use the members controls to add them — they’ll get an in-app notification and an email letting them know they’ve been invited to the list.
Lists are team-scoped: the people you can add are members of the current team. Lists from other teams don’t appear in your sidebar.
The same members list is where you remove someone again: open the menu next to their name and choose Remove. Removing other people is limited to the person who created the list and to your team’s owner and admins — sharing a list doesn’t hand over control of who’s on it. For everyone else the menu only appears on their own row, where it reads Leave list.
Leaving a list
Section titled “Leaving a list”Been added to a list you don’t work on? You can get rid of it yourself, without asking whoever created it. Open the list, click the ⋯ menu in the header, and choose Leave list.
Leaving only removes your membership:
- The list disappears from your sidebar and you lose access to it.
- Tasks assigned to you stay assigned and stay visible. Being an assignee grants access on its own, so those tasks remain reachable through Assigned to me and search.
- The list, its tasks, and everyone else’s access are untouched.
- The “you were added to this list” notifications for that list are cleared from your inbox, since they’d link somewhere you can no longer open.
Anyone still on the list can add you back later, and you’ll get the invitation notification again as if it were the first time.
Reorganising the sidebar
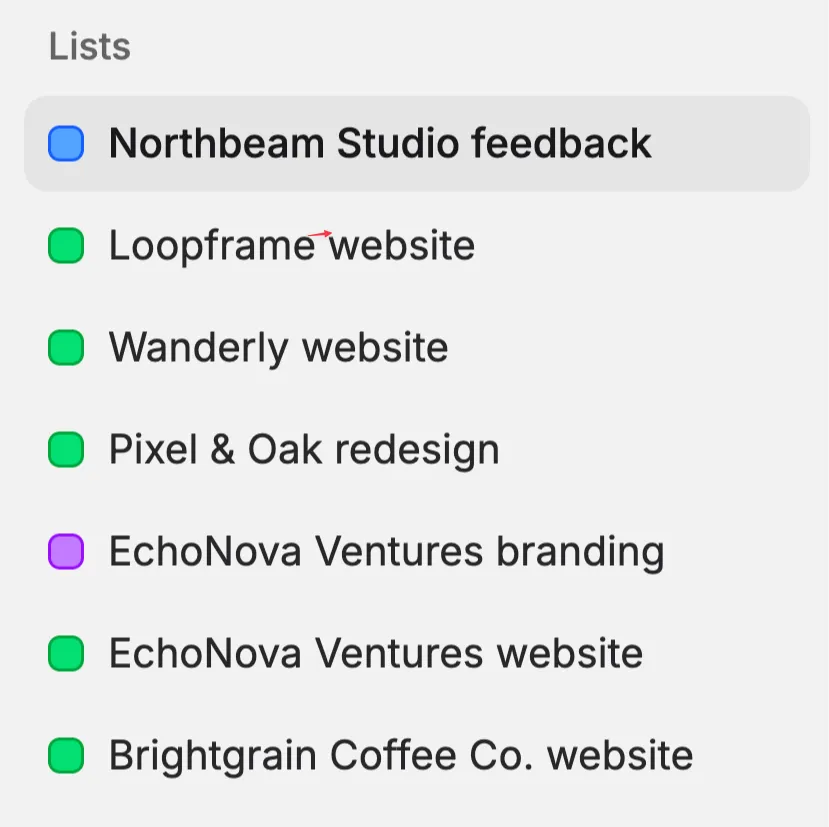
Section titled “Reorganising the sidebar”The Lists section in the sidebar is collapsible and supports drag-and-drop reordering. The order is per-user — you can keep your most-used lists at the top without affecting how the sidebar looks for your teammates.
Archiving vs deleting
Section titled “Archiving vs deleting”Two ways to make a list disappear for everyone. Both are reserved for the person who created the list; if you just want it out of your own sidebar, leave the list instead.
- Archive — soft-removes the list. It’s hidden from the sidebar but the underlying tasks are untouched. Useful when work has wrapped up but you might want to reference it later.
- Delete — permanently removes the list. The tasks themselves are not deleted: they remain in the team and stay reachable through All tasks, Assigned to me, or any other list they happen to be in. Only the list-membership records are cleared out.
If you want to delete a whole project’s worth of tasks, delete the tasks first (or use a filter) — deleting the list won’t do that for you.